Website Launch
Items to complete during launch phase:
- Remove password from .htaccess file and/or disable shield module
- Update Nameservers to Cloudflare and configure the domain to point to new website
- Update server config for live domain
- Configure www Redirect
- Configure and Install SSL
- Configure SSL Redirect
- Configure Google Analytics, set up new GA if needed
- Generate new sitemap.xml file
- Submit the sitemap, create Web Master Tools account if needed
- Enable/add webfrom emails to all webforms
- Enable website cache and compression
- Add uptime tracking to Uptime Robot
- Post new launch to the Slack #announcements Channel
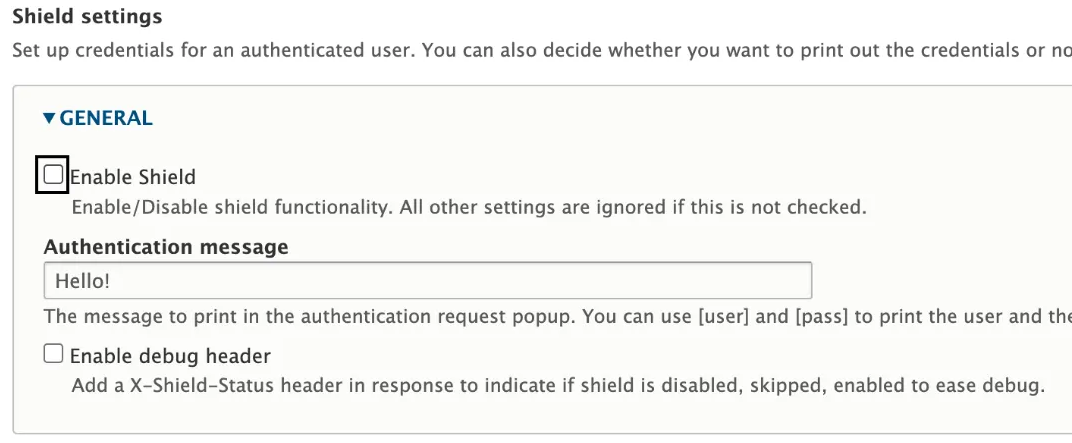
1. Disable Shield Module
- Navigate to Configuration > System > Shield.
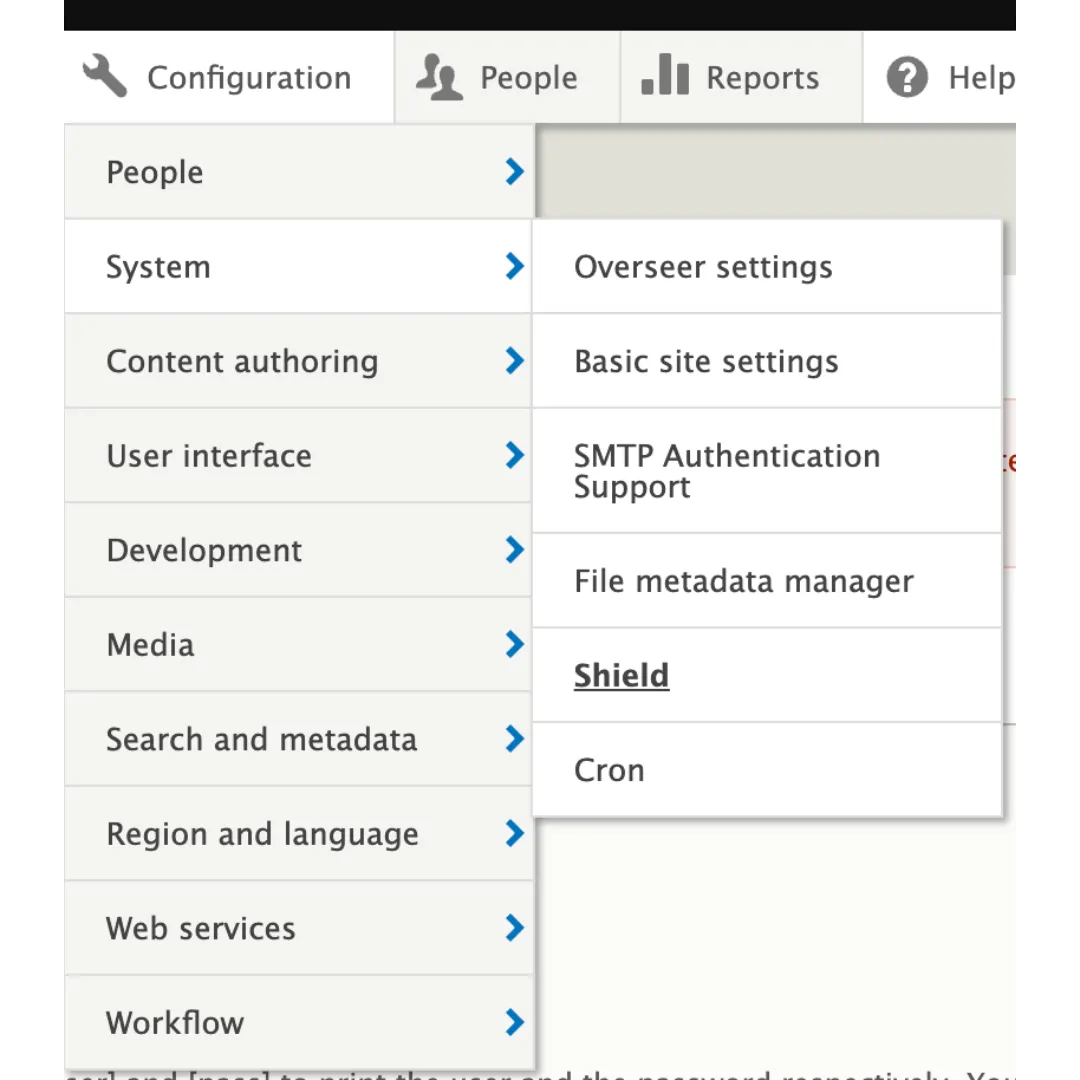
- Uncheck the Enable Shield box and click Save Configuration.
2. Update Nameservers
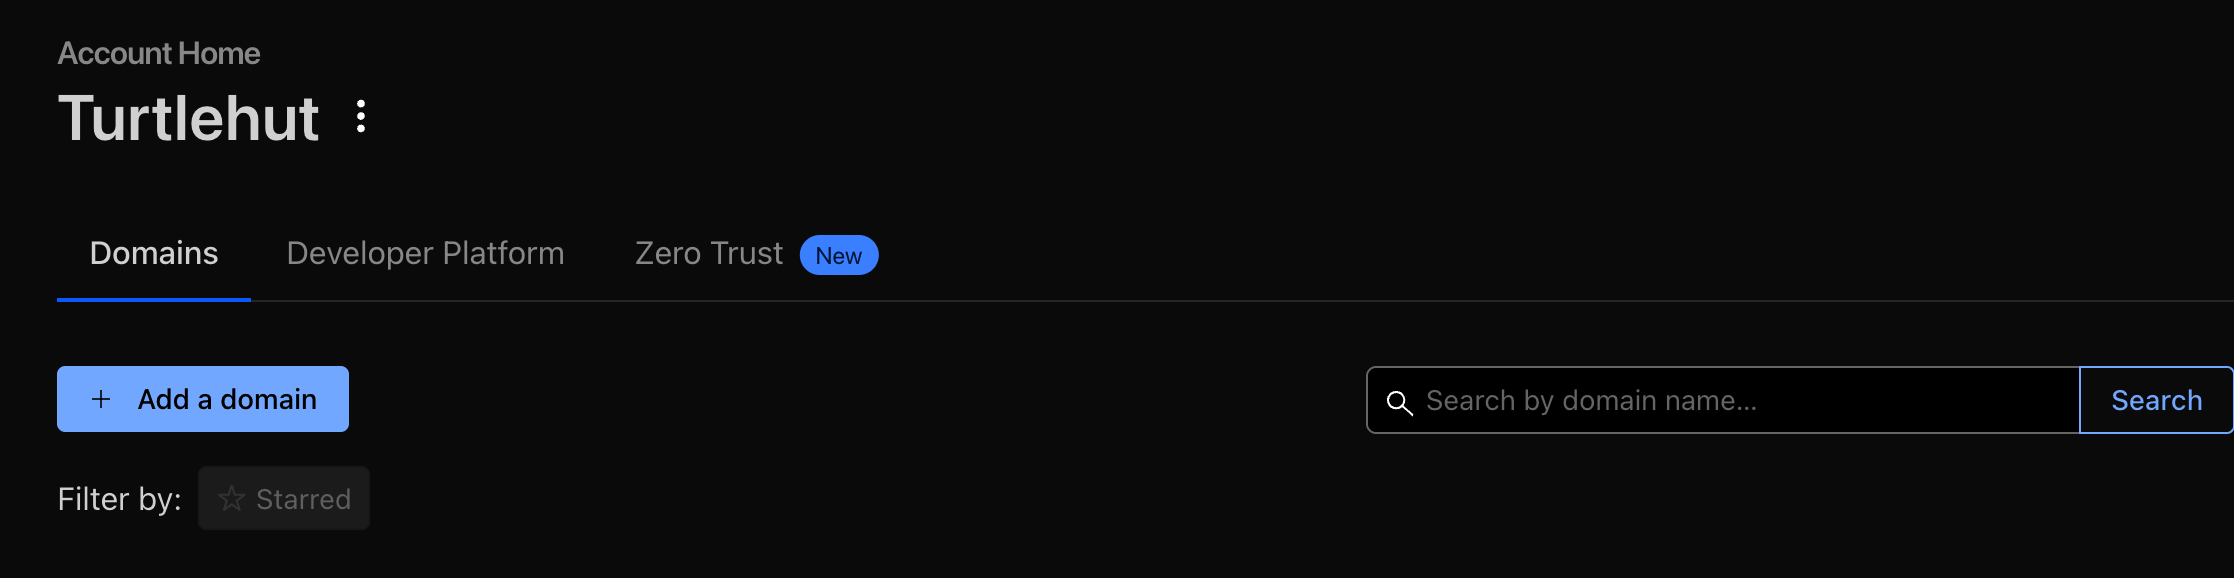
- Log in to your Cloudflare account. Click on Turtlehut.
- Click the + Add a domain button located on the right side of the Account Home page.
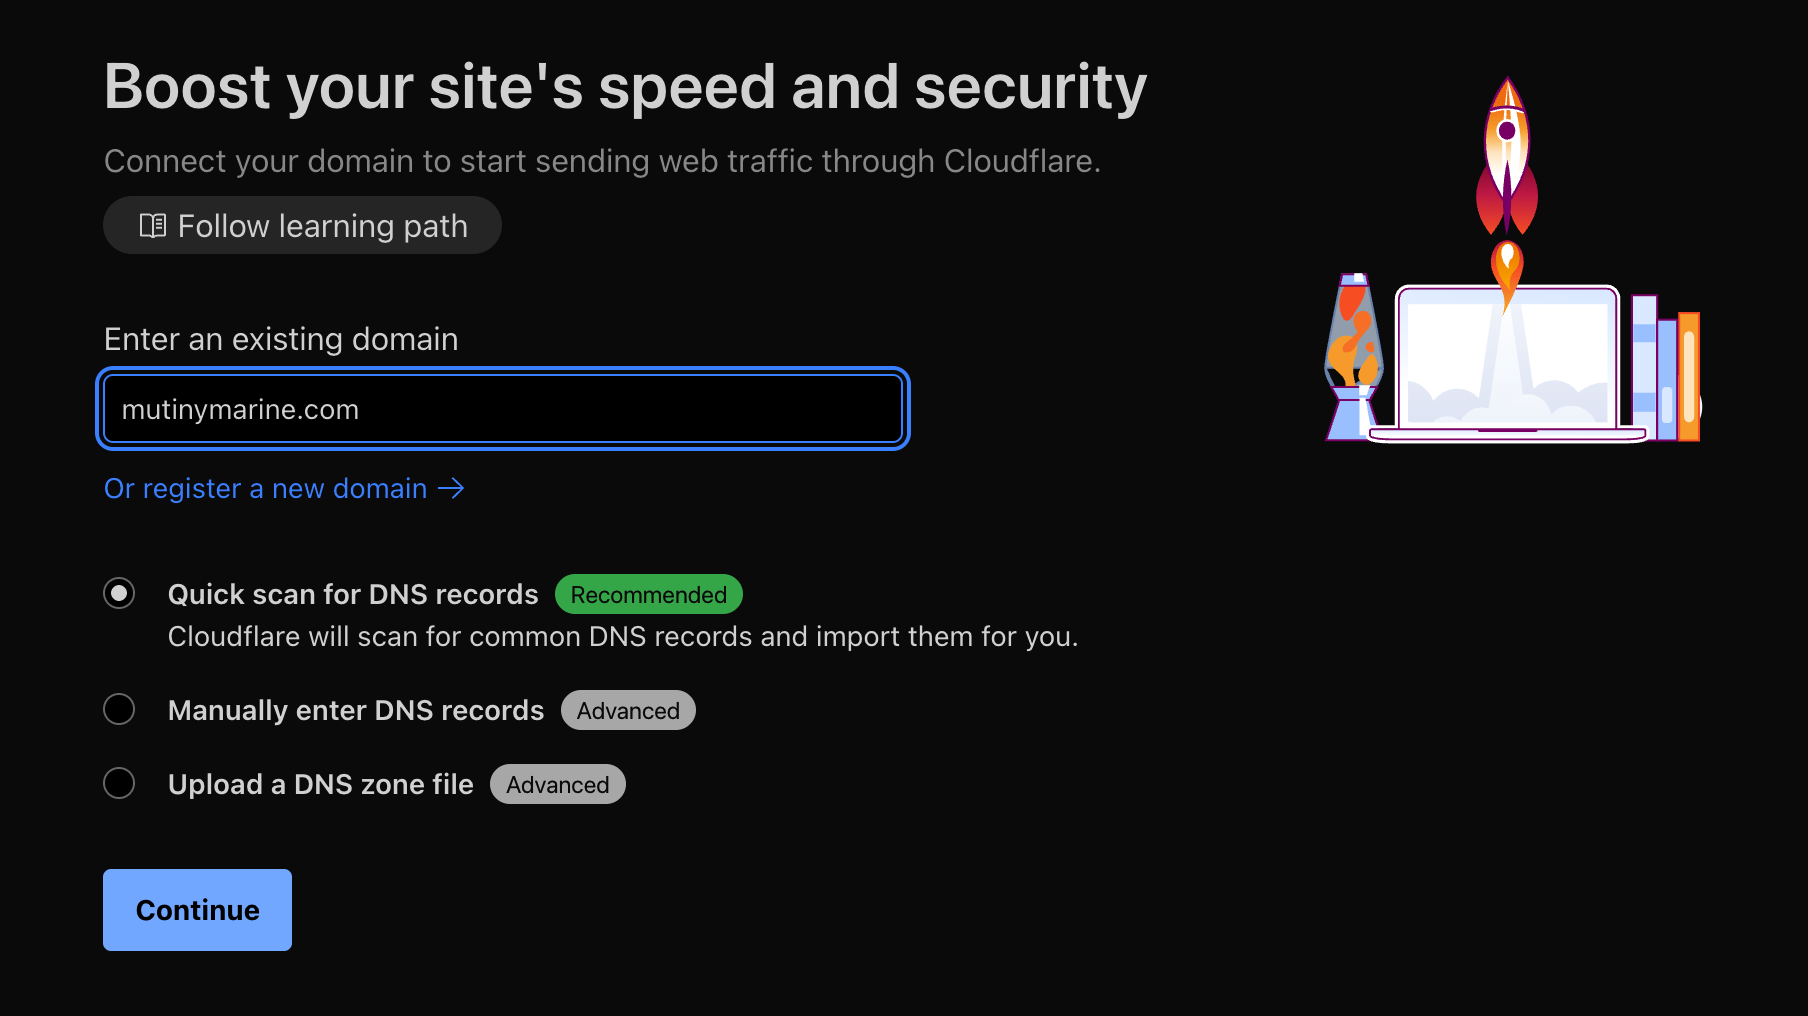
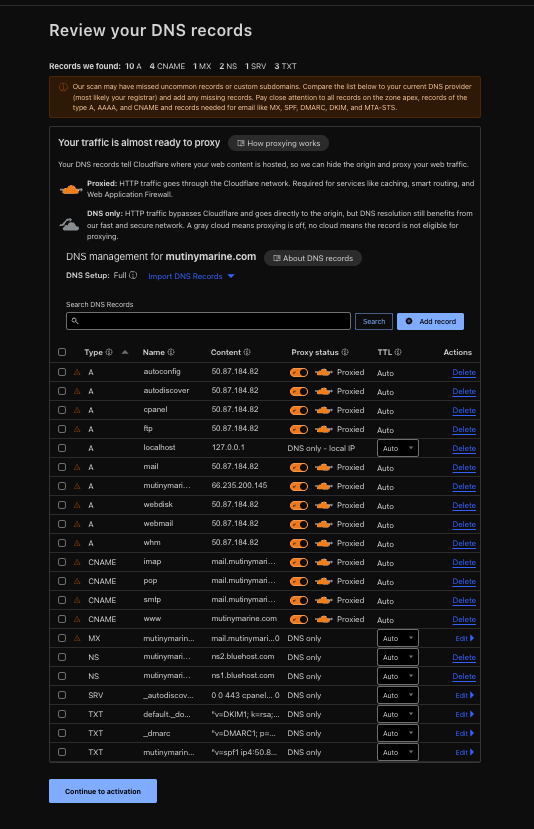
- Enter the domain name you wish to add, ensure the Quick scan for DNS records option is selected, and click Continue.
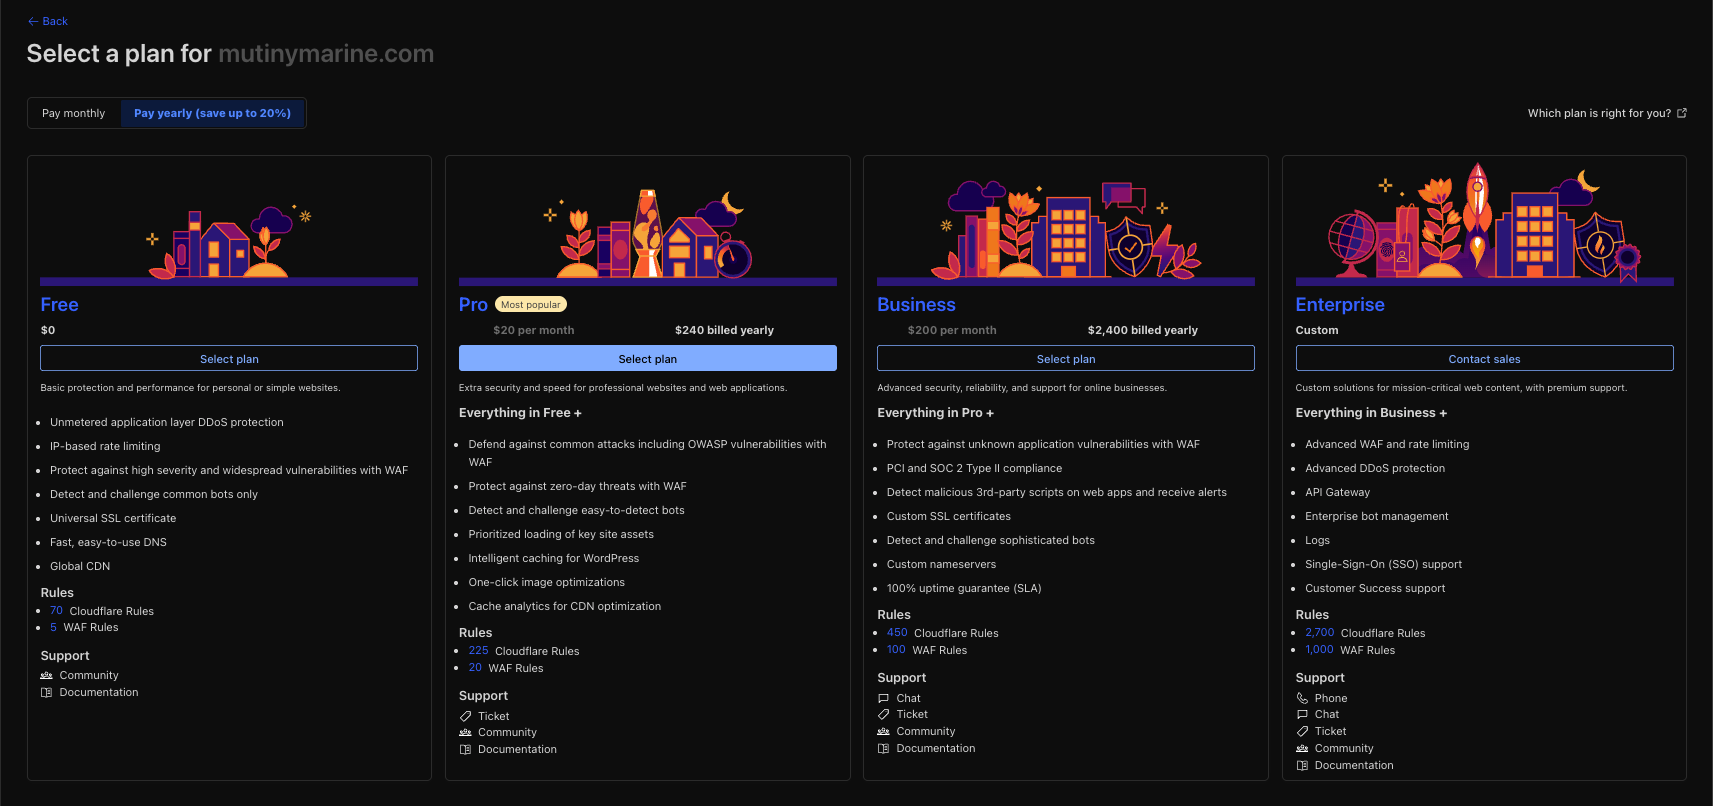
- Select a plan that suits your needs (typically, it's the Free Plan) and click Select Plan.
- Scroll to the bottom and click Continue to activation.
- Update client domain's nameservers at the 3rd party registrar to the Cloudflare-provided nameservers. This is a crucial step to activate Cloudflare. Click Continue.
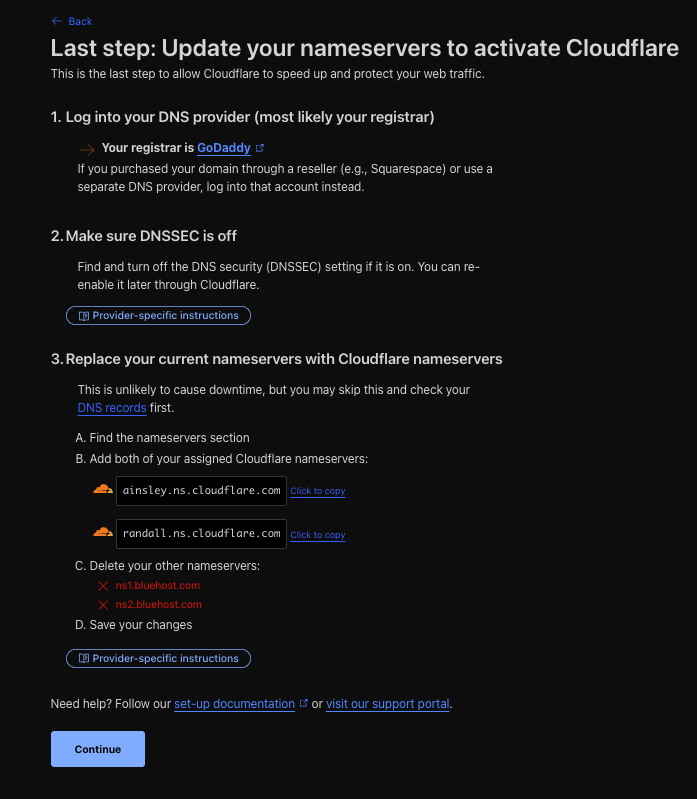
- Once the nameserver update propagates (this should be immediate, but can take up to 24-48 hours), Cloudflare will indicate that your site is active. You can check the status on your Cloudflare dashboard.
3. Update Server Config
- Access the application in Cloudways.
- Navigate to Domain Management > Add Domain.
- Add the live domain URL.
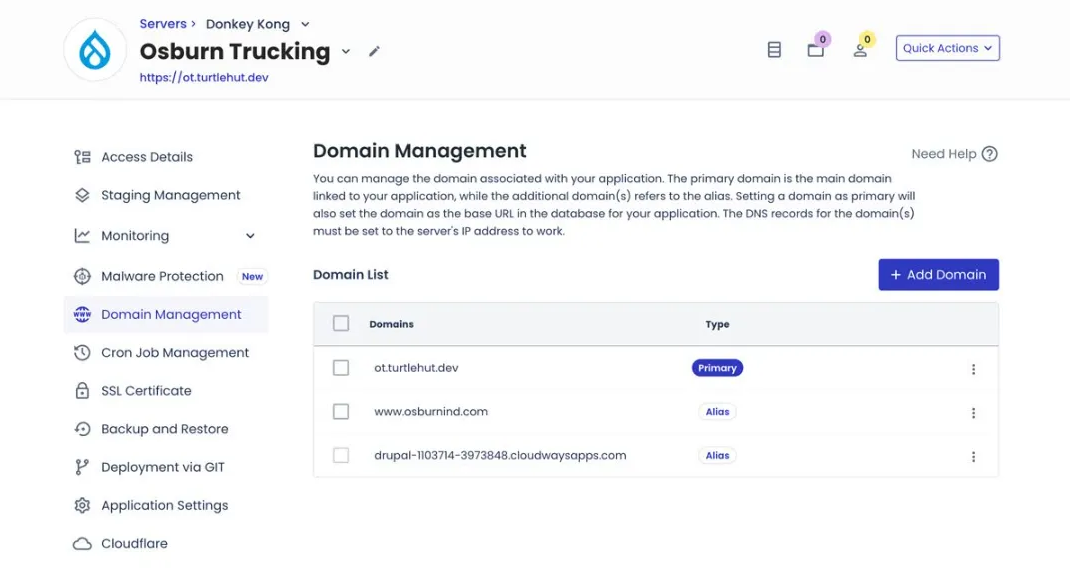
- Test the URL. If it works, delete the dev URL.
4. Configure www Redirect
- Log in to your Cloudflare account. Click on Turtlehut.
- Select your domain from the account dashboard.
- Click the Rules tab in the lefthand navigation menu.
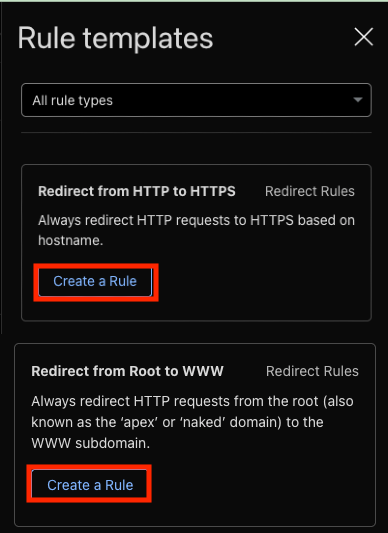
- Click the Templates button on the righthand side.

-
Click Create a Rule on both Redirect from HTTP to HTTPS and Redirect from root to WWW, scroll the to the bottom of the page, and click Deploy. Note: You'll need to complete this step separately for both rules.

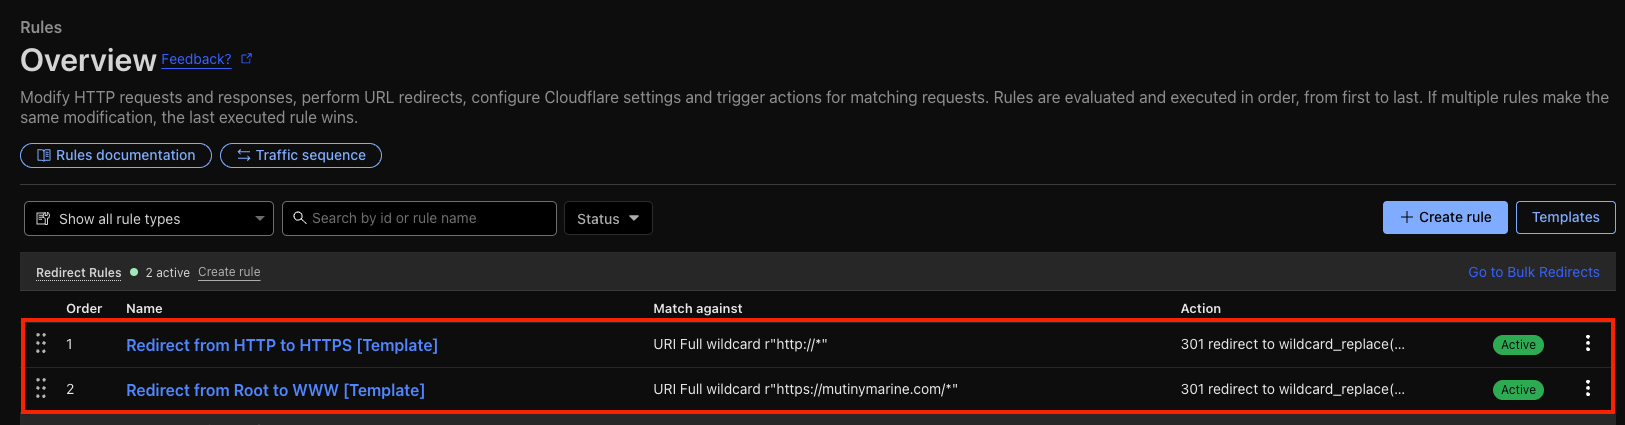
-
Confirm both rules are displayed and Active.
5. Configure and Install SSL
- Log in to the Cloudways dashboard.
- Navigate to the appropriate application.
- Select SSL Certificate from the left navigation menu.
- Complete all required fields with the appropriate information.
- Click Install Certificate to begin the installation process.
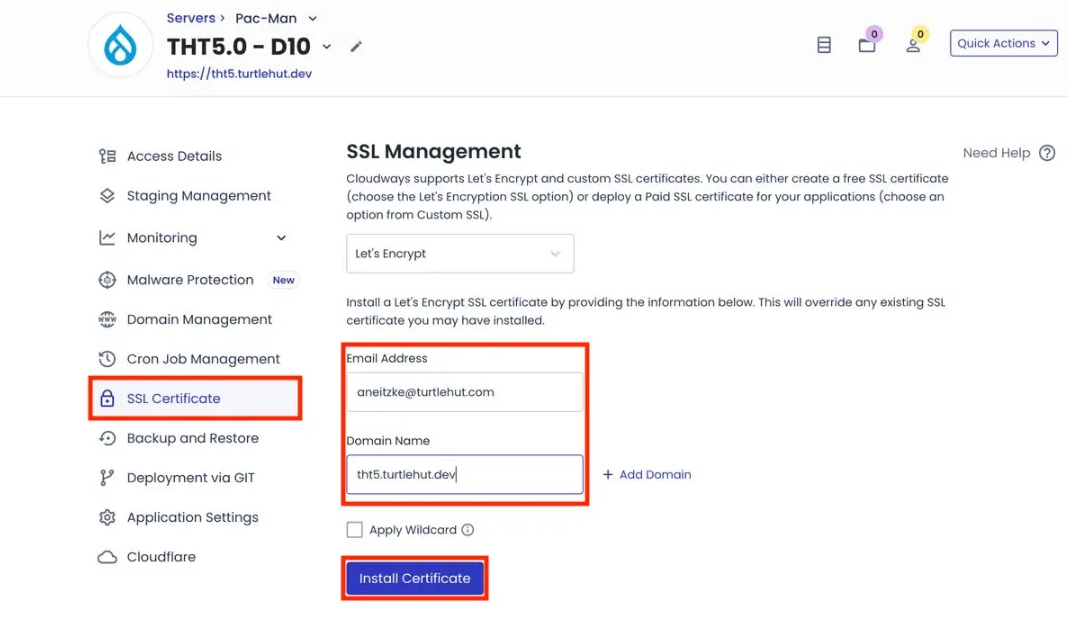
- Wait for the success confirmation message.
6. Configure SSL Redirect
- Cloudflare redirects all the incoming traffic to the correct URL destination.
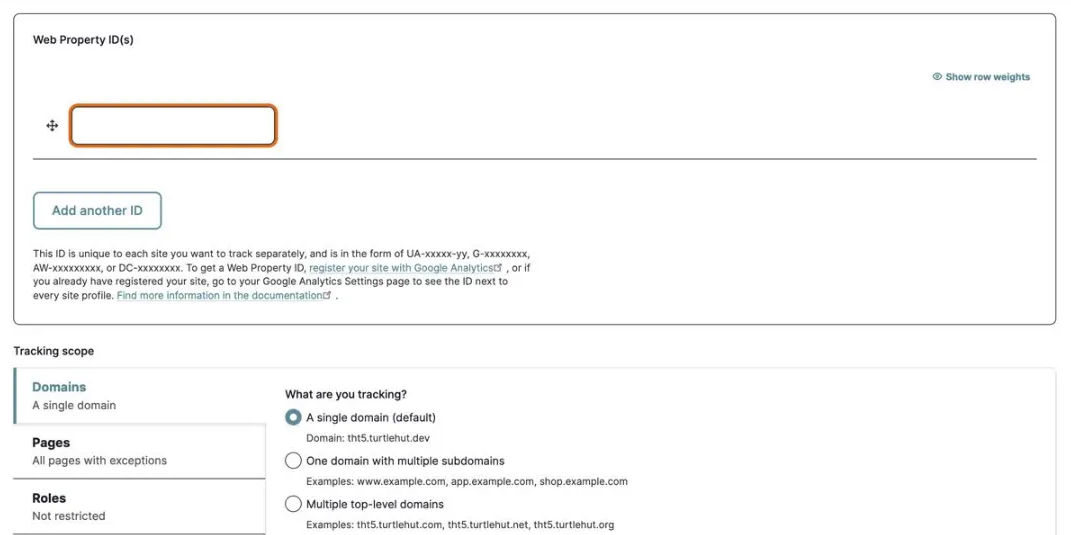
7. Configure Google Analytics
- Request the GA4 analytics tracking ID from the ads specialist.
- In Drupal, navigate to Configuration > Web Services > Google Analytics.
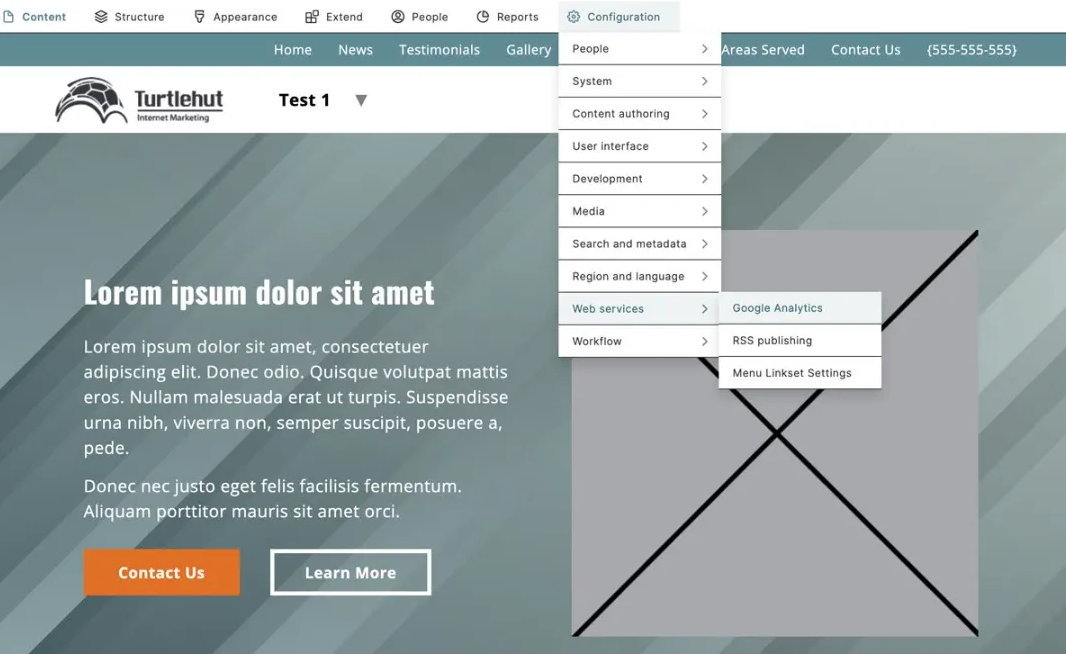
- Enter the tracking ID in the Google Analytics field.
8. Generate sitemap.xml
- Log in to the new site.
- Navigate to Configuration > Search & Metadata > Simple XML Sitemaps > Sitemaps.
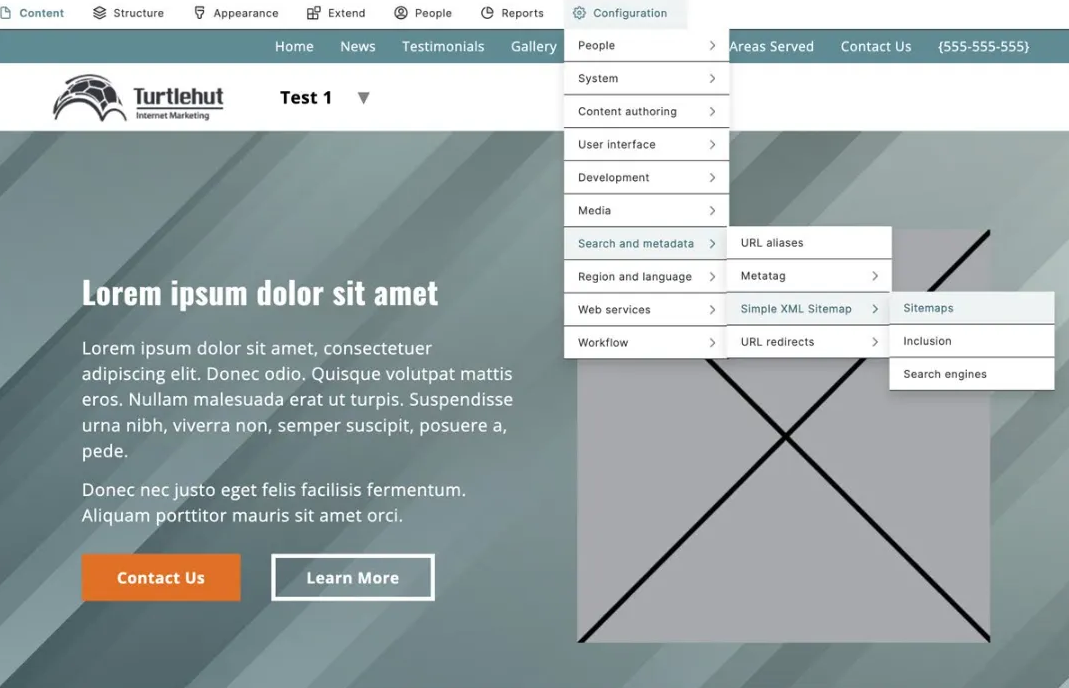
- Click Rebuild queue & generate.
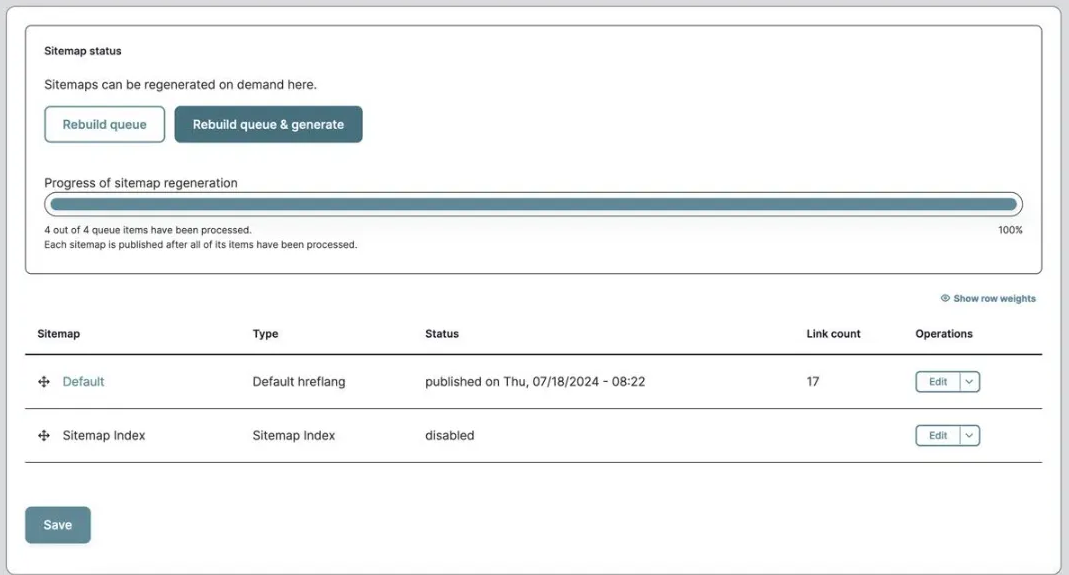
- Verify the link count matches what appears in the default sitemap listing.
9. Submit Sitemap
- Log in to Google Search Console.
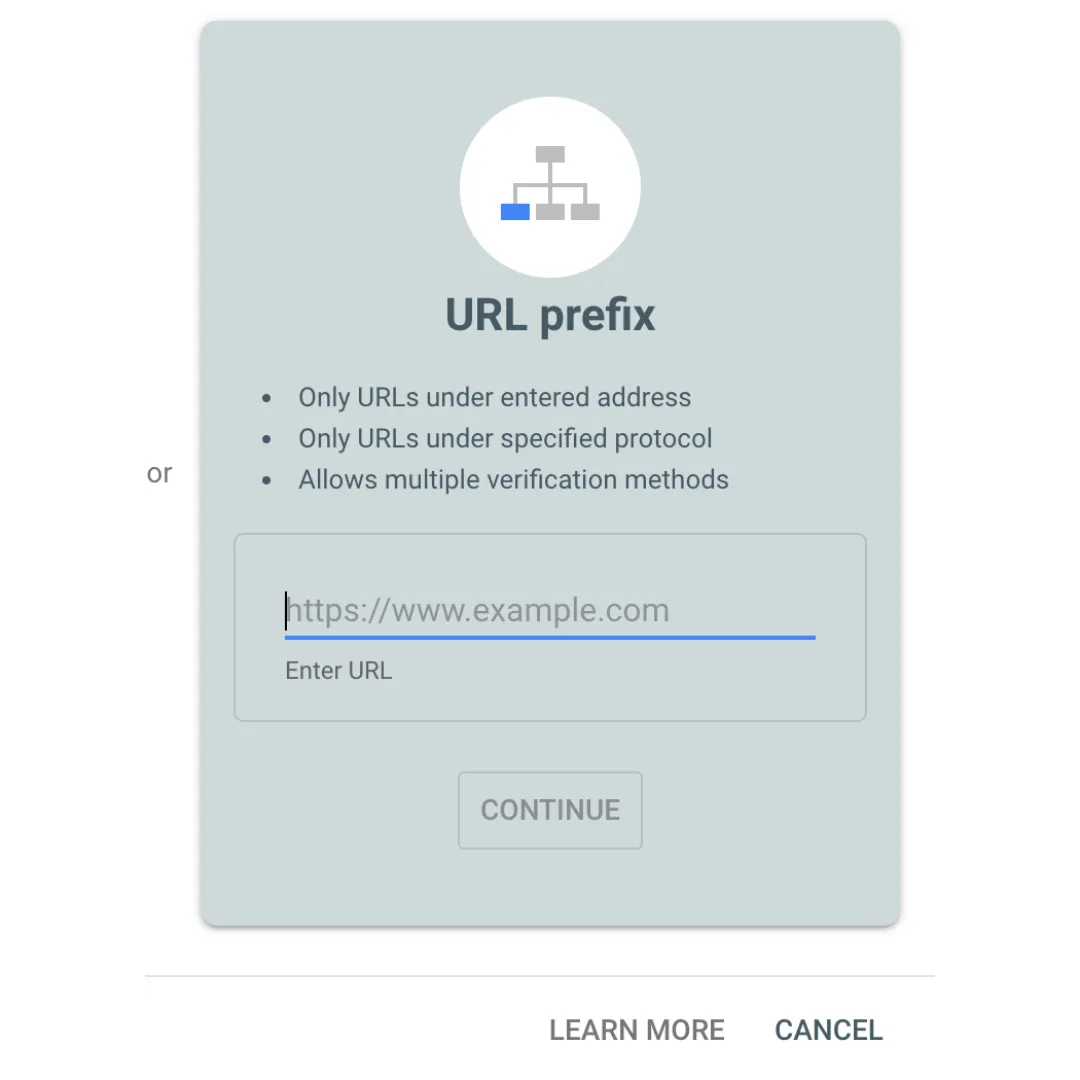
- Click the dropdown in the top left and click Add Property.
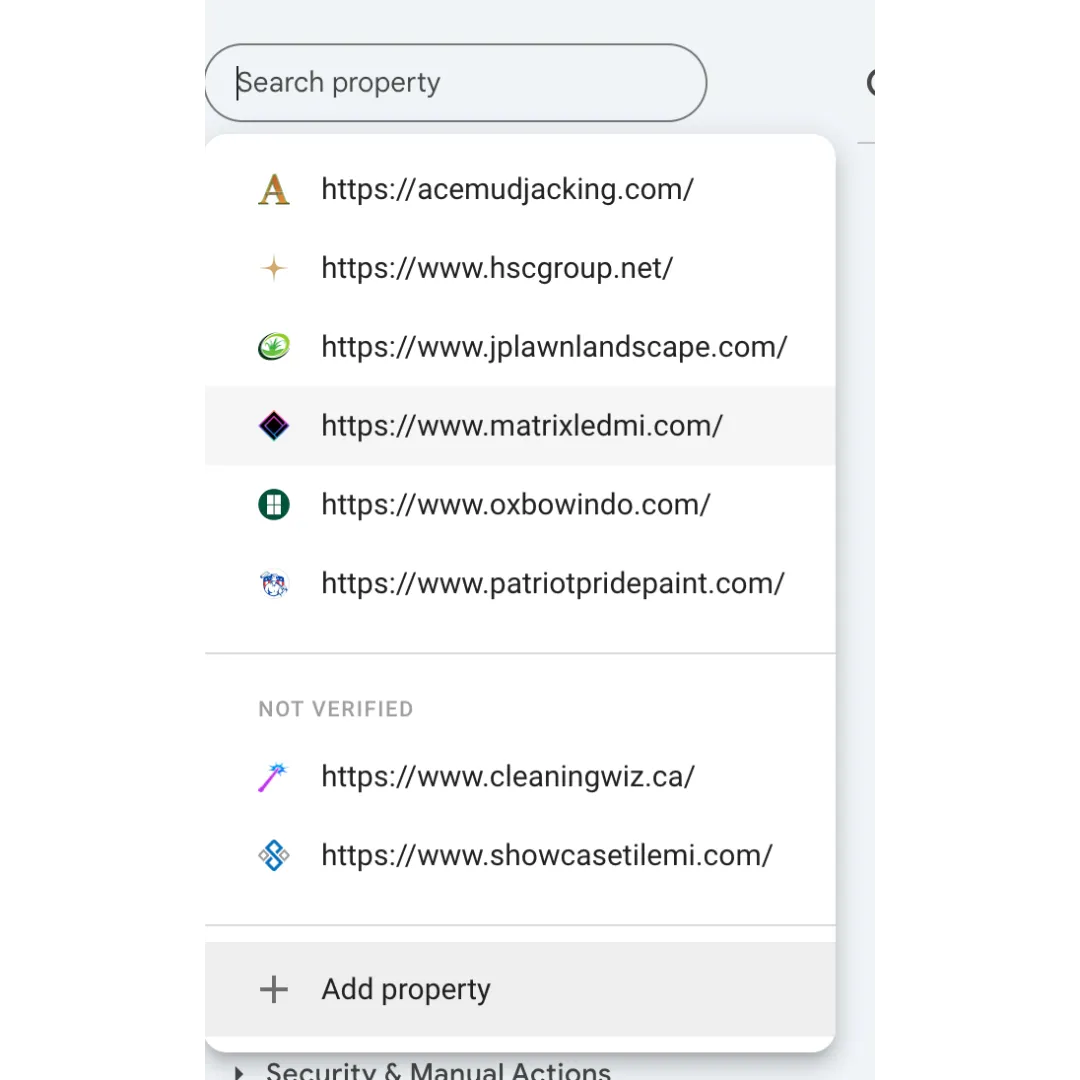
- In the URL prefix side, enter the full URL for the new site and click Continue.
- Download the HTML file and upload to the public_html directory via SFTP.
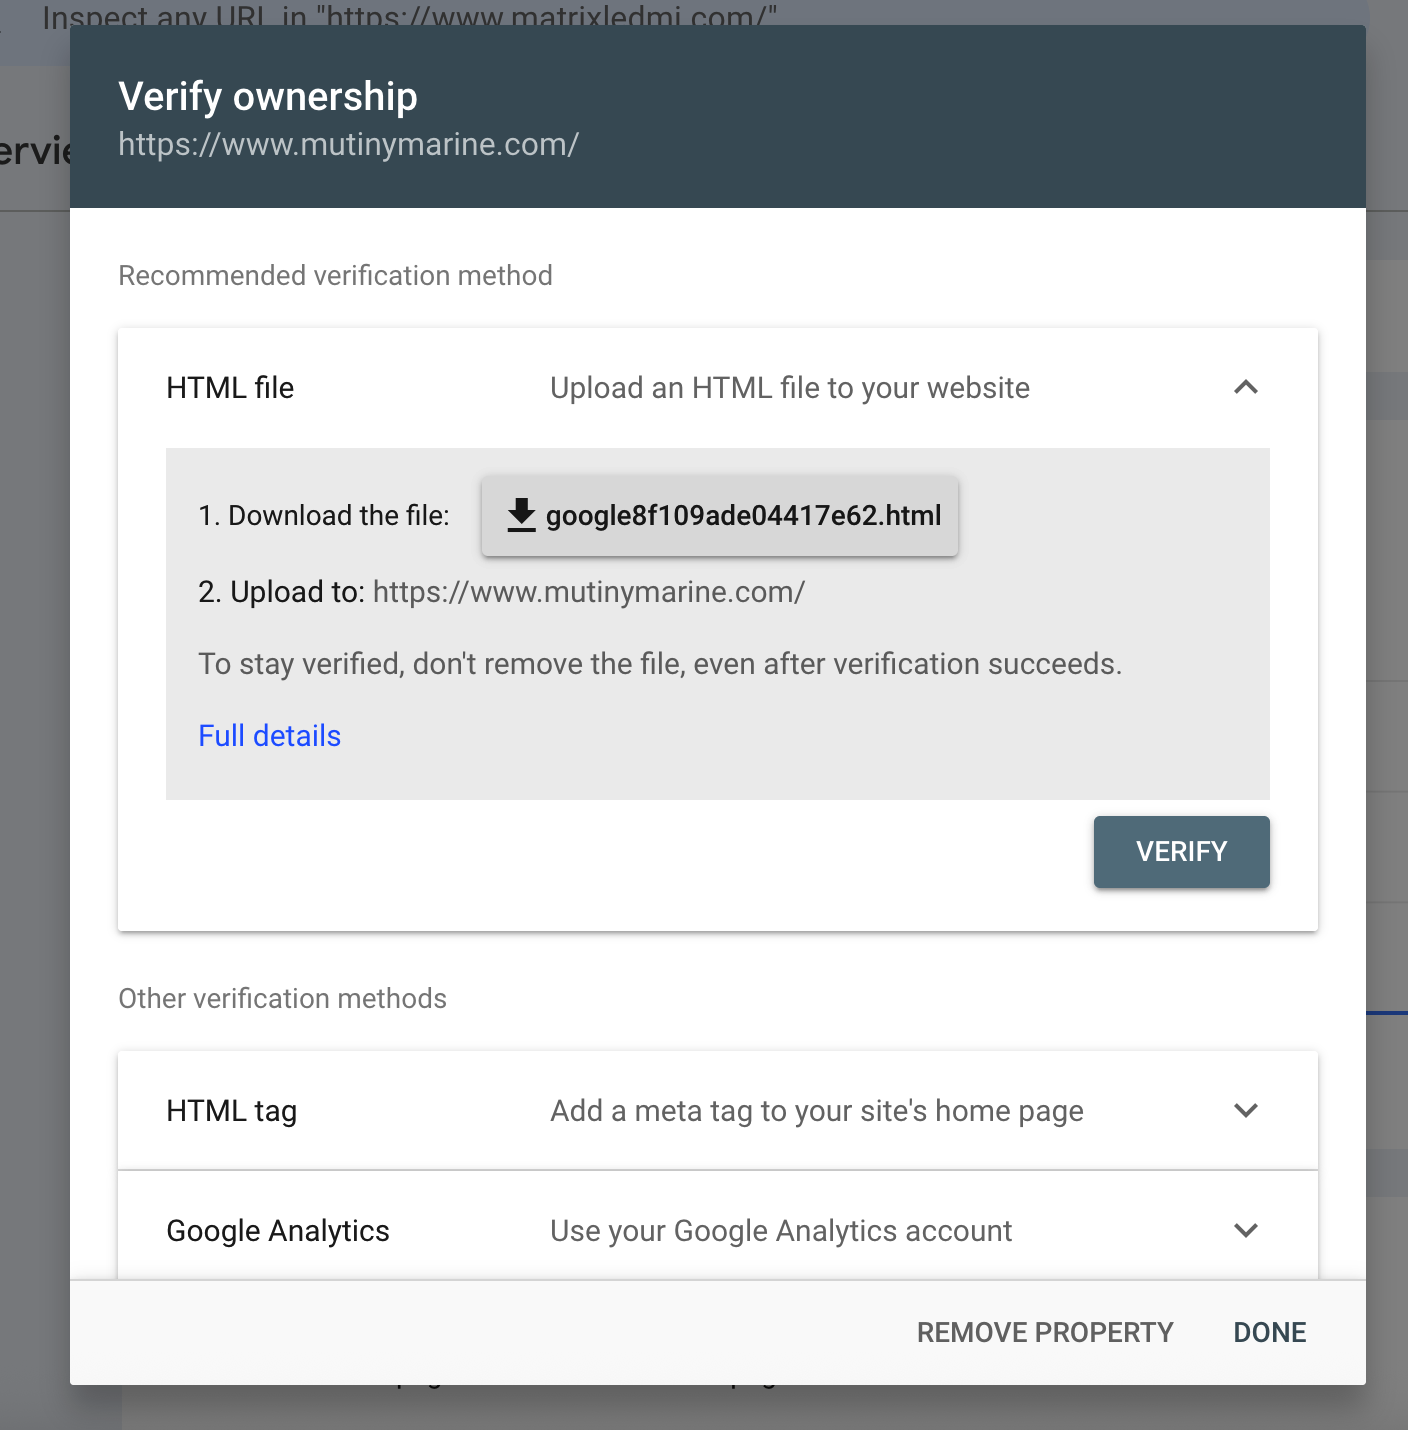
- Click Verify and wait for confirmation message.

10. Enable Webform Emails
- Log in to the new website.
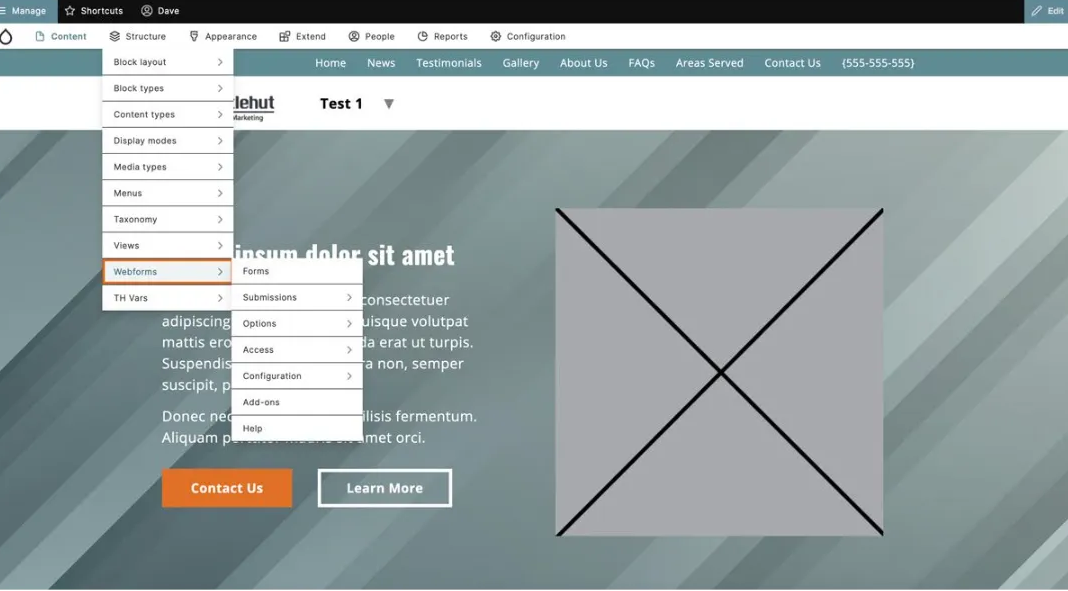
- Navigate to Structure > Webforms > Forms.
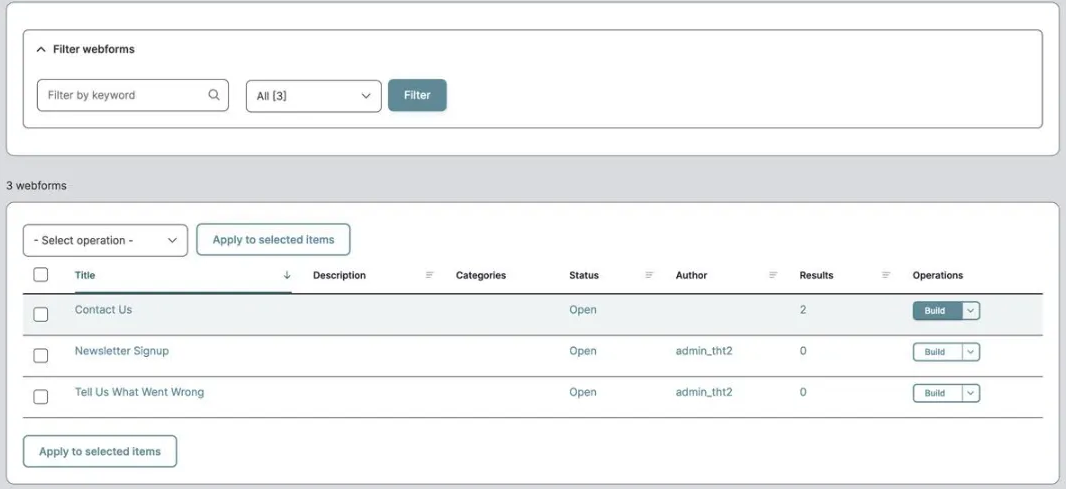
- Click Build next to the appropriate form (e.g. 'Contact Us').
- Click Settings > Emails/Handlers.
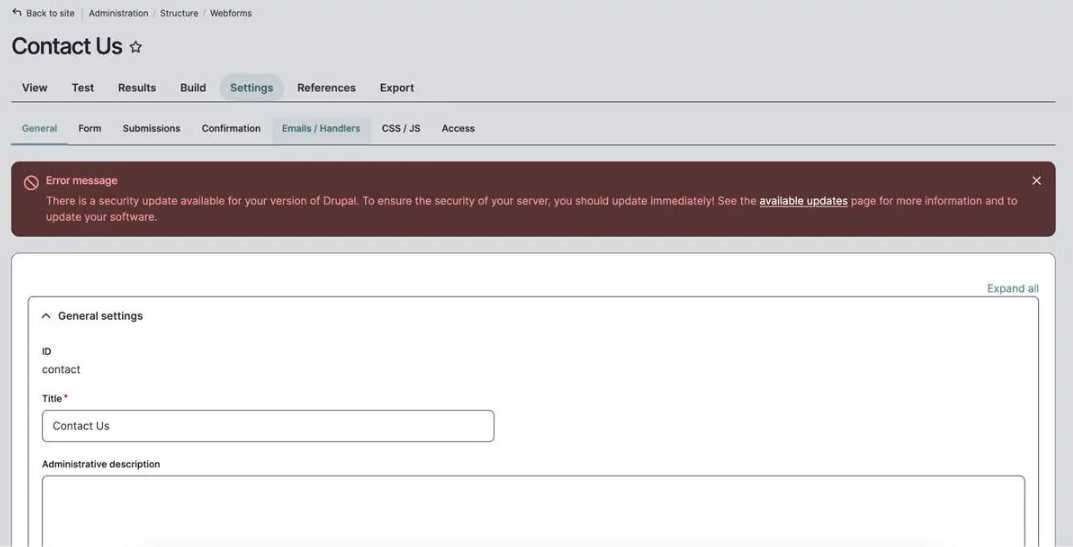
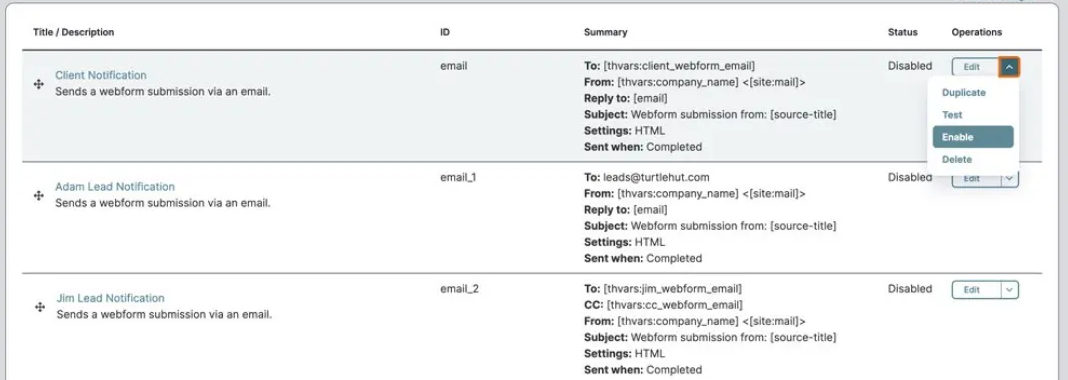
- These should be enabled by default, but if not, click Enable from the dropdown menu next to each email address.
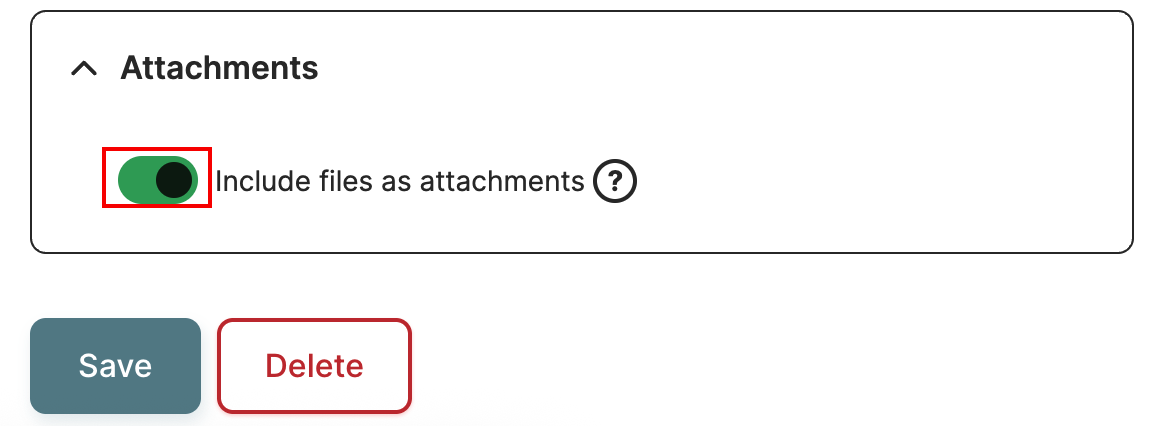
NOTE: If you created a form that contains a file uploader, you must ensure the "Include files as attachments" option is ticked, or the client will not receive any attachments.
- To do this, navigate to Emails/Handlers and click Edit next to Client Notification and scroll to the very bottom of the box that pops out.
11. Enable Cache/Compression
- Skip this step for now as it breaks the site.
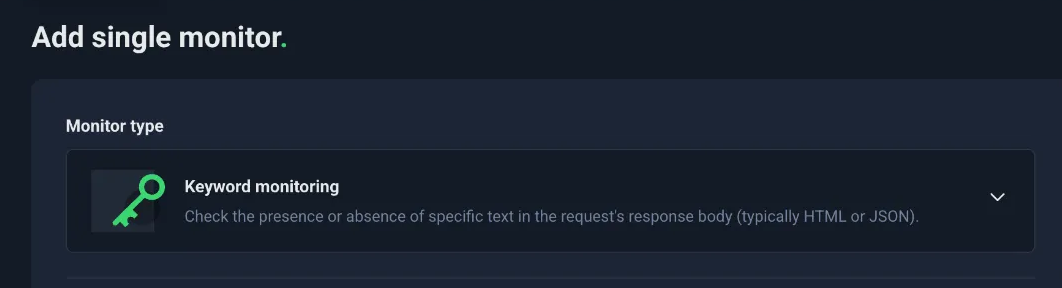
12. Add Uptime Tracking
- Log in to UptimeRobot.
- Add a new monitor:
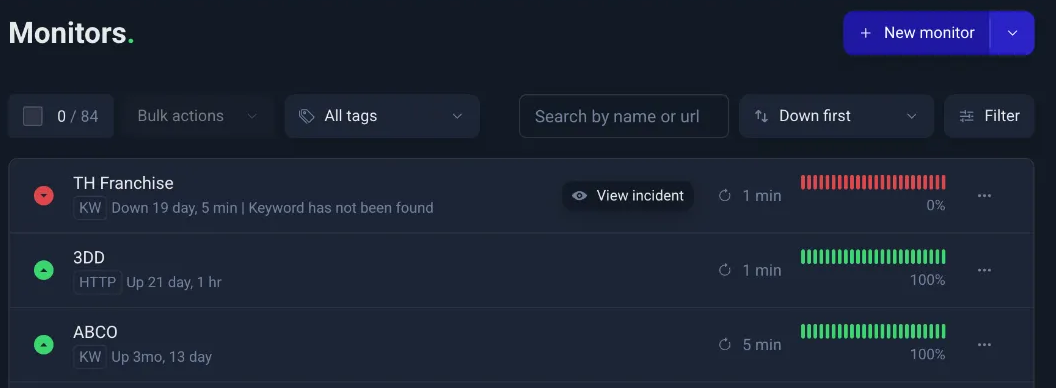
- Set monitor type to Keyword monitoring.
- Enter the live site domain as the URL to monitor.
- Enter the dev site acronym as the friendly name.
- Enter the company name from the footer tagline as the keyword.

- Select Start incident when keyword does not exist from the dropdown.

- Click Create Monitor.
13. Slack Announcement
- Craft an engaging announcement message.
- Post in the #announcements channel with the site URL.
Last Updated: 9/18/25